VeleroUI: Backup & Restore Solutions for Kubernetes
Performing Kubernetes backup and restore is a crucial step in ensuring service continuity within modern containerized environments. With Velero, administrators can securely back up resources such as Deployments, Services, ConfigMaps, and even persistent data, while VeleroUI provides an intuitive graphical interface that simplifies backup management without relying entirely on the CLI. This article discusses how to implement a Velero Kubernetes Backup using MinIO S3 as the backend—an efficient and lightweight object storage solution ideal for both on-premise and cloud environments. Through the integration of Velero MinIO, the Kubernetes disaster recovery process becomes faster, more efficient, and more organized, ensuring that clusters remain protected in the event of system failures or configuration errors. This guide is designed for administrators seeking to build an independent and scalable backup solution using Velero Restore, Velero UI, and MinIO as the core foundation for Kubernetes data protection.

Prerequisite
You must have an S3 storage like MinIO with web console and api enable. Default port is 9000 for api and 9090 for web console
MinIO
- Access URL dashboard MinIO do you have before, and create Bucket

Install Velero
- Download manifest
wget https://github.com/vmware-tanzu/velero/releases/download/v1.17.1/velero-v1.17.1-linux-amd64.tar.gz
- Extract file
sudo tar -zxvf velero-v1.17.1-linux-amd64.tar.gz
- Then, move binary file
sudo mv velero-v1.17.1-linux-amd64/velero /usr/local/bin
- Create credentials
sudo cat << EOF | sudo tee ./credentials
[default]
aws_access_key_id = <username-minio>
aws_secret_access_key = <password-minio>
- Deploy Velero to the cluster kubernetes
velero install \\
  --provider aws \\
  --plugins velero/velero-plugin-for-aws:v1.3.0 \\
  --bucket kubernetes \\
  --secret-file ./credentials \\
  --use-volume-snapshots=false \\
  --prefix k8s-backup \\
  --backup-location-config region=minio,s3ForcePathStyle="true",s3Url=https://<IP-INSTANCE-MINIO>:9000 \\
  --wait
- Make sure for the backup location velero is Available

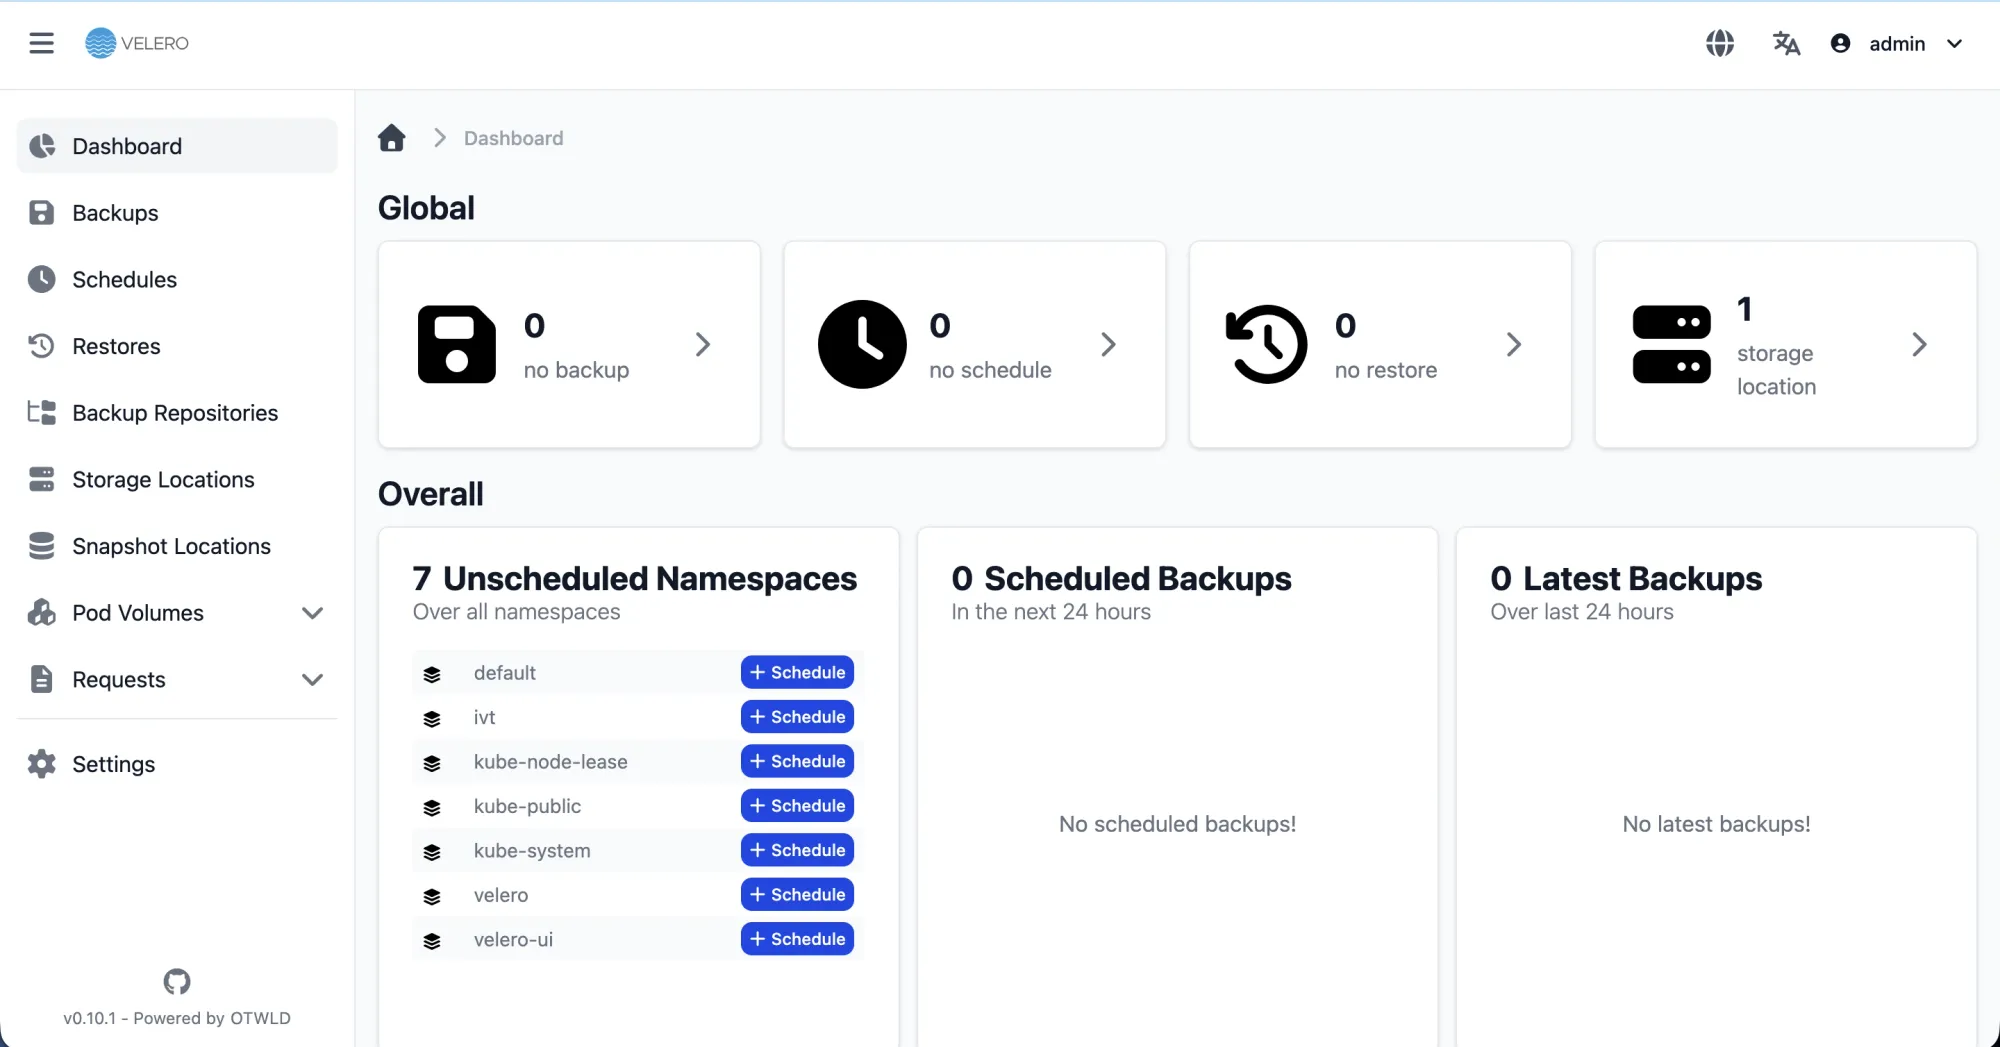
Install VeleroUI
- Clone Repository
git clone https://github.com/otwld/velero-ui.git
- Go to the manifest directory
cd velero-ui/kubernetes/manifests
- Apply manifests with kubectl
kubectl apply -f .
- Access via kube-proxy
kubectl port-forward service/velero-ui 3333:80 -n velero-ui
- Login with default user password
Username: admin
Password: admin
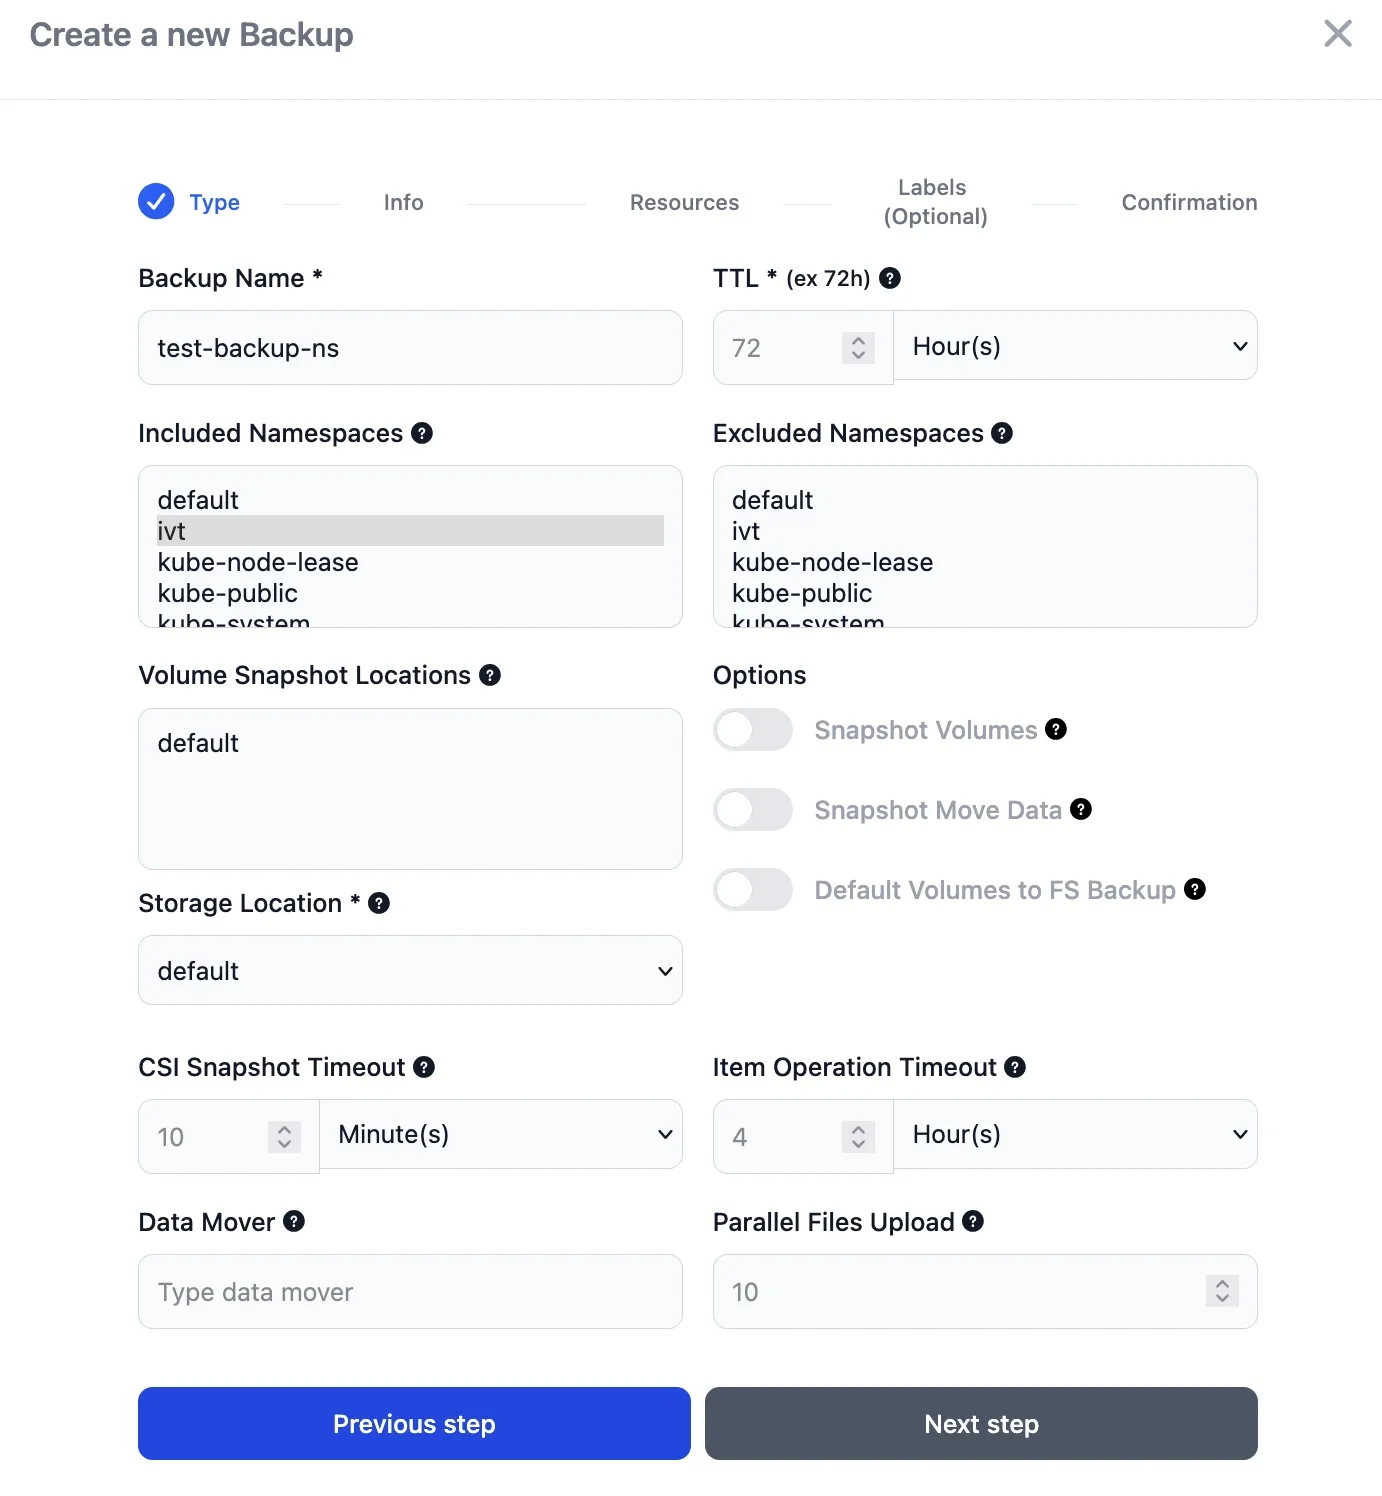
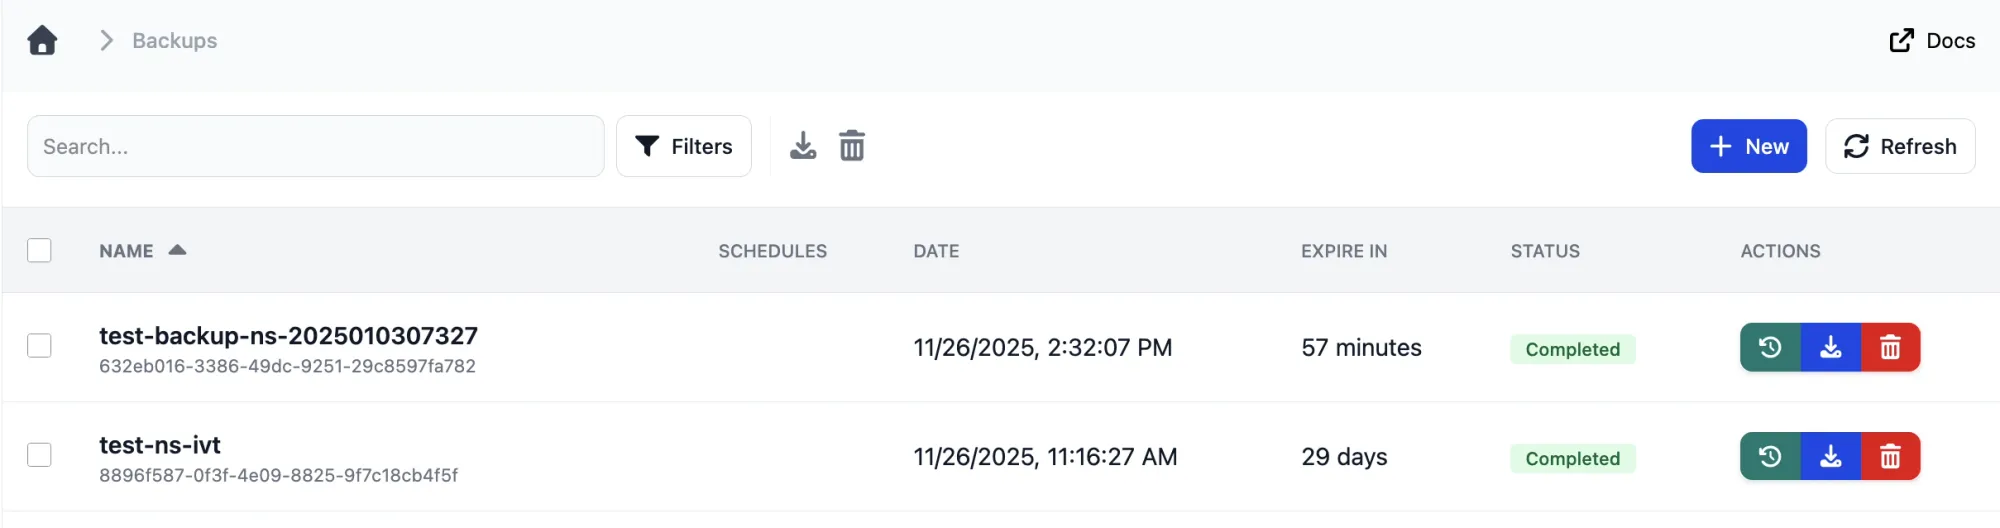
Test Create Backup
- Click
Backups→+ New→From Scratchand then fill in accordingly
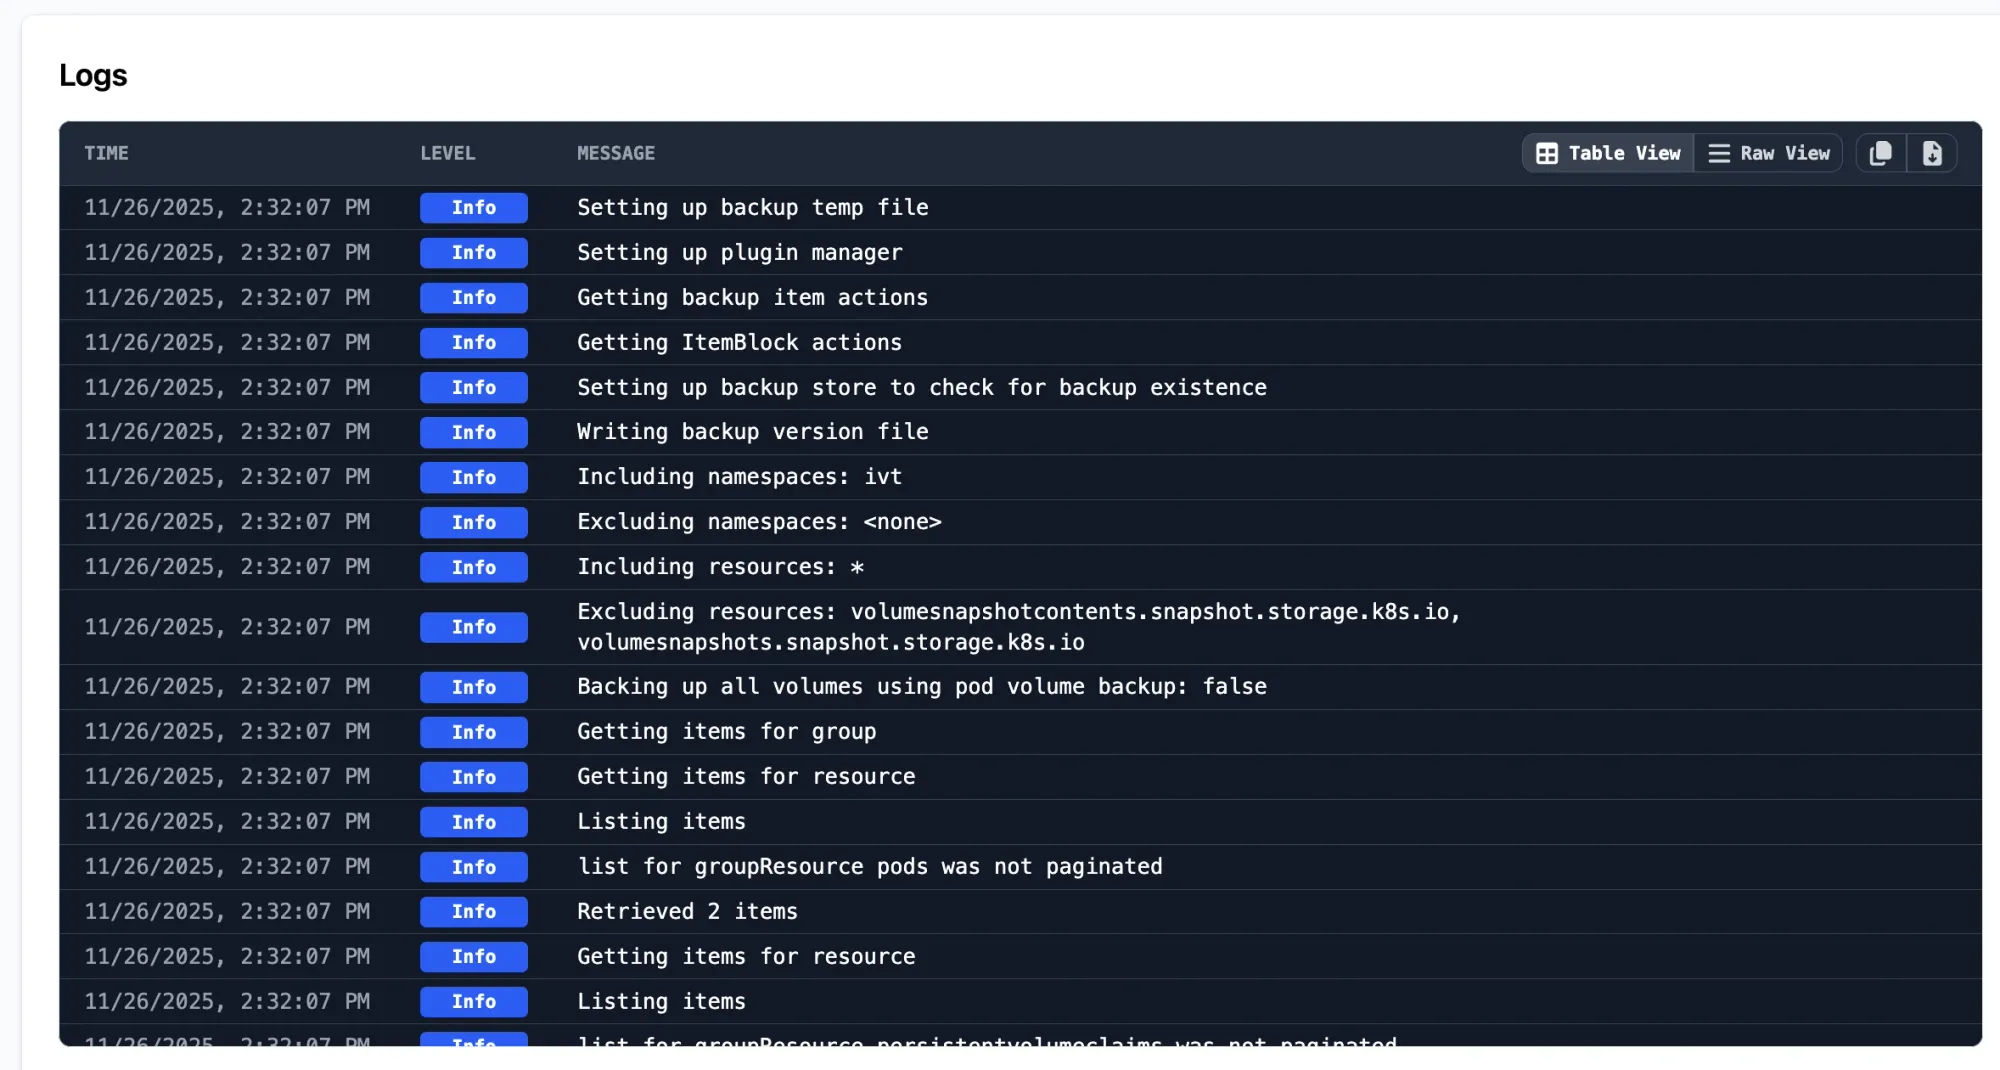
- Logs backup process
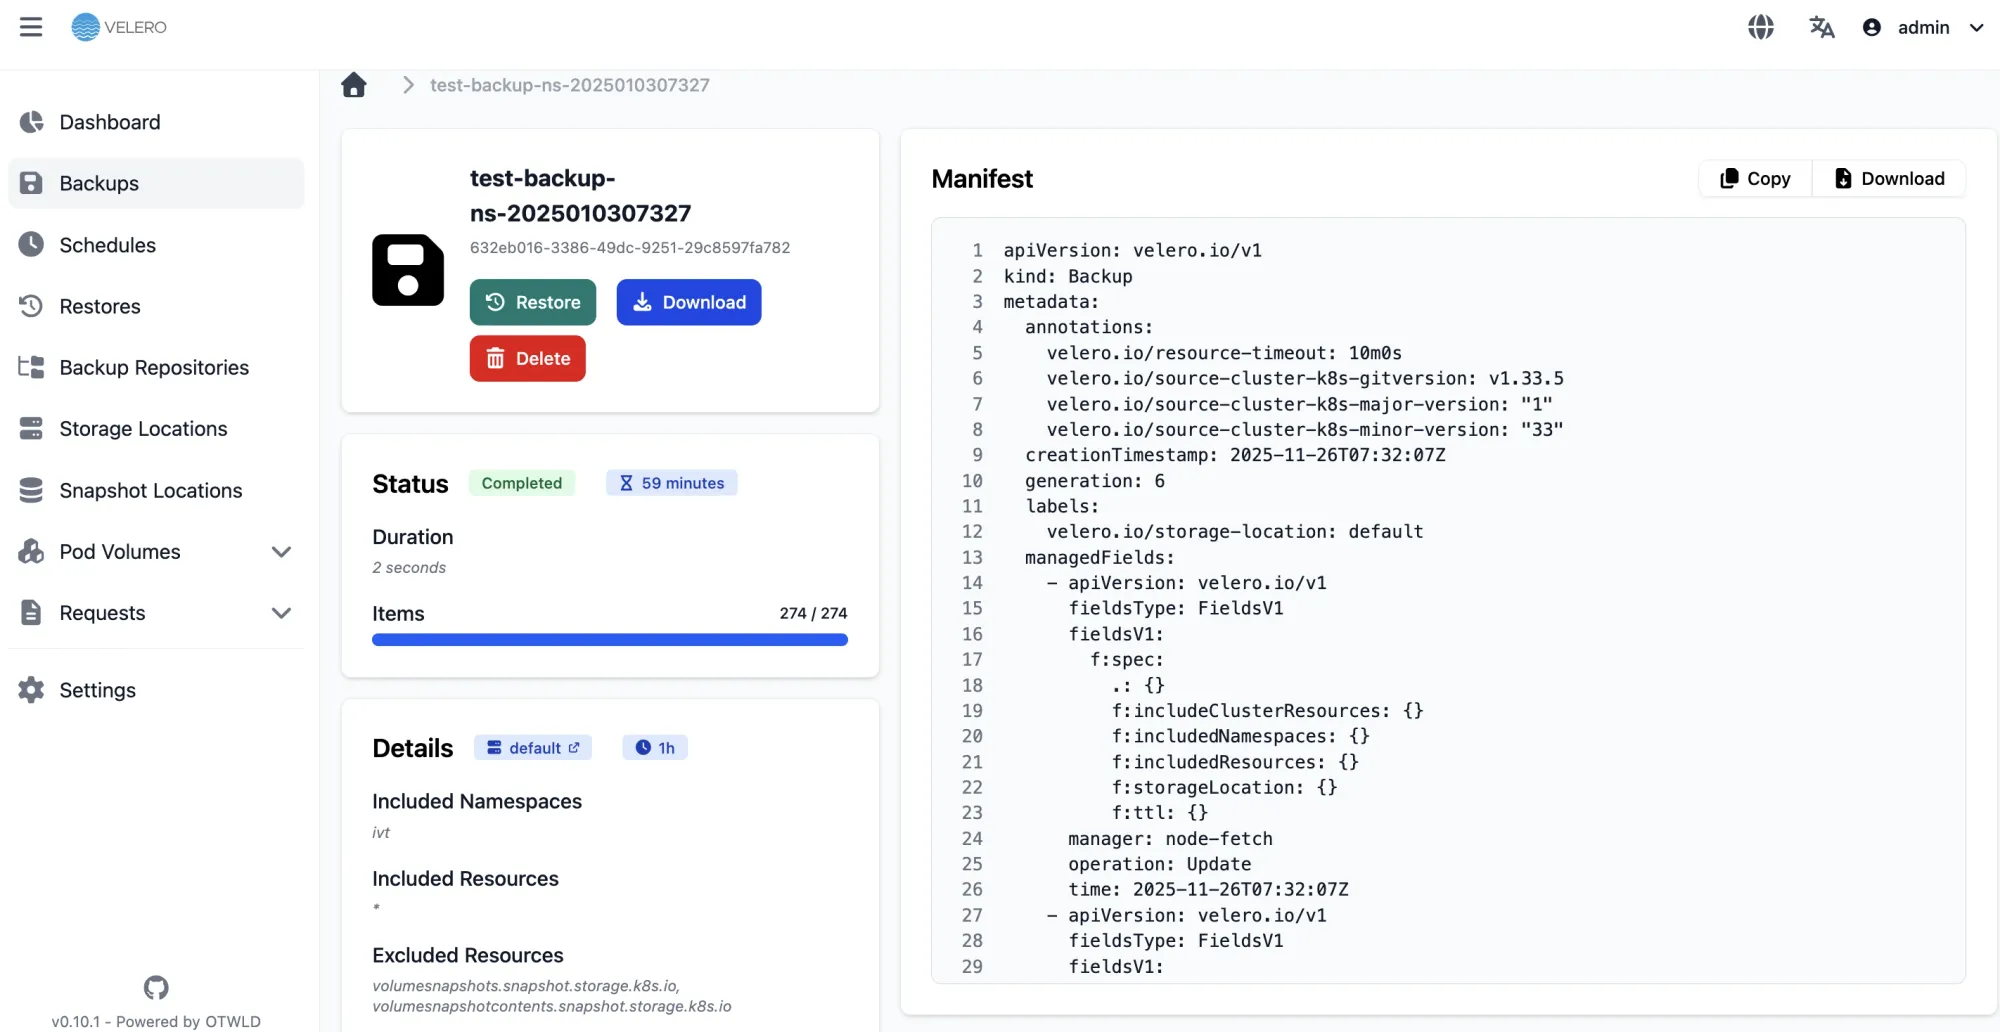
- Status backup successfully
- Makesure backup file is also available on MinIO bucket

In this guide, we explored how Velero and VeleroUI provide a seamless and reliable solution for performing backup and restore operations in Kubernetes environments. By integrating MinIO as the S3-compatible backend, organizations can build a flexible, scalable, and fully self-hosted data protection strategy for their clusters. VeleroUI simplifies management through an intuitive interface, while Velero’s core capabilities ensure consistent backups, smooth restores, and robust disaster recovery workflows. Together, these tools empower administrators to maintain cluster resilience and ensure operational continuity in any deployment scenario.
Reference: https://velero-ui.docs.otwld.com/getting-started/kubernetes